
The body is together and I am starting the neck
Leveling the sides to accept sound plates
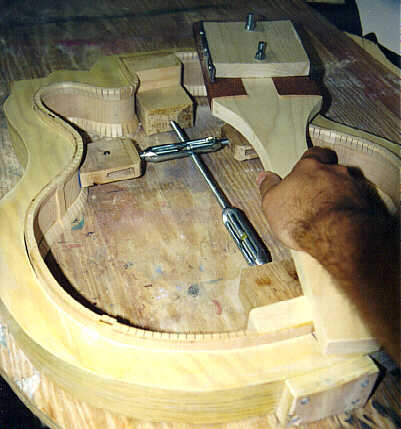 I made a pair of turn-buckle clamps from standard parts available at the local hardware store. They all came with eyes on the end, so I routed out an area between to 1×3 pieces of maple to make a wooden fixture at the end of each turn-buckle. I sanded the fixtures on one to match the curvature of the waist, and applied some foam padding.
I made a sanding paddle out of a 1×6 piece of poplar. I made it so that a piece of sand paper could be clamped onto the face of the paddle instead of glued on. It took little time to level everything off using 120 grit sand paper.
Gluing the sound plates to the sides
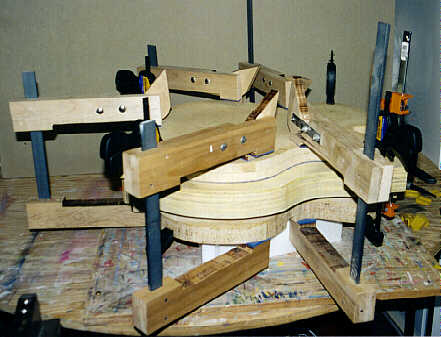 The back plate was glued to the sides first. When I did this I kept the turn-buckle clamps in place. I stacked everything in the following layers: (1) foam blocks to get the clamps underneath. (2) the cradle with the cutaway insert installed on opposite side. (3) the top plate facing down. (4) the sides clamped into the mold. (5) the back facing up. (6) a clamping caul made just for gluing the back.
I first assembled everything, clamps and all, until I was satisfied with the fit. I then took off the clamps, applied glue to the liner, and clamped it together again. After letting it sit over night, I turned things around (reverse order), took out the turn-buckle clamps, and glued the top on. The image below shows the bottom plate being glued on.
Truing up the sides
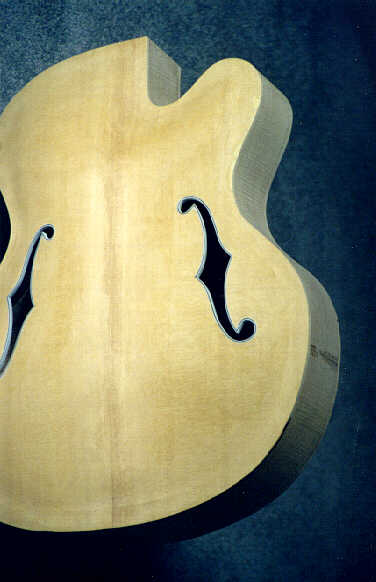 Getting the body out of the mold took some effort. I had to remove the plate overlap on one side before I could slip it out. I was very careful not to split the wood off the face as I was sliding it through. When it came out and I had it in my hands, I was ecstatic. All I have to do now is keep from messing it up when I route the binding channels. I’m at least half way home now.
I trued up the sides by hand, using sanding blocks and a sanding dowel. The area where the sides cracked and had to be mended with epoxy is visible in the photo. This epoxy stain went away after final sanding, and the crack is very hard to notice.
I purchased a router guide for my dremel, an aluminum sleeve that mounds directly on the end (see Stewart-MacDonald’s supply catalog). I also ordered a book on guitar electronics, so that I can prepare for the time when I need to choose a pickup. Any suggestions on amplification are welcome.
Before I glued the back on, I glued a label on that I designed. On it, I put my signature and recorded the dated and serial numbered. If I make any more I will put the same label on them as well. You never know, one day this could be my second career. I already have some photos of the work I started on the neck, but I will hold off a week or two to get a more comprehensive page.